Defining Locations
Locations are shared across Business Groups in HRMS and with two other Oracle applications: Inventory and Purchasing. HRMS does not use some of the fields in the Location window. These fields are disabled for HRMS users. For example, the Legal Address check box is read-only and supports future functionality in Oracle Financials.
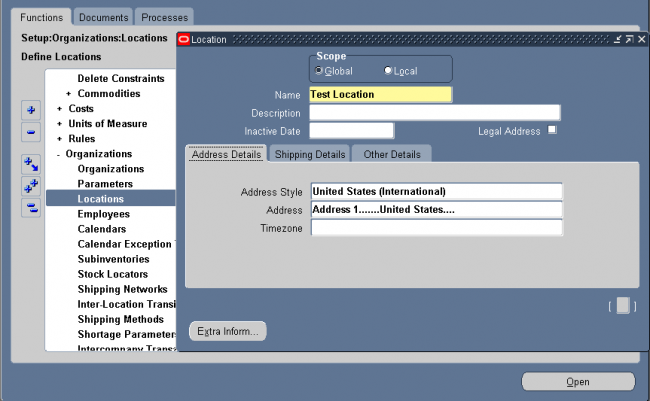
Header
Uncheck the Global check box if you want the location to only be available within the default Business Group of your current responsibility. Accept the default if you want the location to be a global location and therefore available to all Business Groups. If you are setting up a global location, the location name must be unique across all Business Groups. If you are setting up a location for one Business Group, the location name must be unique within that Business Group and all global locations, but does not have to be unique across all Business Groups.
Note: You cannot amend the Global check box once you have set up your location.
Address Details Tab
Select a national address style from the list. If a local address style exists for your country, it is displayed as the default. Otherwise, the international style is displayed.
Shipping Details
Selecting the check boxes means that you are making the location Name a valid location in the list of values on a Purchasing
document. For example, selecting Ship–To Site makes the location Name a valid choice in the list of values for the Ship–To field on a purchase order header. Note that if you define a default Ship–To or Bill–To Location in the Supplier–Purchasing region of the Financials Options window for your organization, that is the location that defaults onto your purchase orders. But if you wanted to change that default, the location Name that you define here and enable as a Ship–To or Bill–To site is available in the list of values for you to choose from in the Ship–To or Bill–To fields.
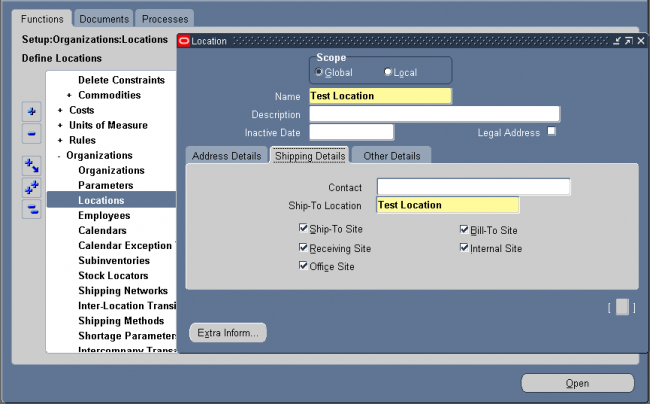
Contact: Optional contact name for the location Name.
Ship–To Location : Its the receving dock. Usually the same as the location Name. You could select a separate, previously defined Ship–To Location—for example, if you wanted to create a location Name, Office A, and specify Receiving Dock A as its Ship–To Location. Note, however, that once you specify a separate Ship–To Location, you can no longer enable the location Name as a Ship–To Site. In this example, Receiving Dock A is the ship–to site for Office A; therefore, Office A itself cannot also be the ship–to site.
Ship–To Site: Is this location is a receving dock. Select this option to make the location Name a valid ship–to organization on a purchase order or requisition.
Bill–To Site: Select this option to make the location Name a valid bill–to site. The Bill–To Site, which is used by Payables, is specified on a purchase order header.
Receiving Site: Select this option to make the location a valid receiving Location when creating a receipt or receiving transaction.
Office Site: Select this option to indicate that this location Name is an office site, such as a field office.
Internal Site: Select this option to make the location a valid internal ship–to location when creating an internal requisition.
Other Details
Inventory Organization: Select an inventory organization within which this location will be available in the list of values on a Purchasing document. By selecting no inventory organization, this location becomes available on Purchasing documents
in all organizations.
EDI Location: If you use Electronic Data Interchange (EDI) to receive Advance Shipment Notices (ASNs) or ASNs with billing information (ASBNs), enter a defined location. This location should match the ship-to location specified on an ASN or ASBN
Leave a Reply
Want to join the discussion?Feel free to contribute!