How to Setup iExpenses In R12
- Define Responsibilities for GL, AP,PO,HRMS,IEXPENSES
- Define Business Group.
- Define Ledger.
- Define Operating Unit.
- Define Security Profile.
- Run Security List Maintenance Program.
- Assign Security Profile to Responsibilities.
- Run Replicate Seed Data Program.
2.Define Job
Navigation: HRMS –> Work structures –> Job –> Description.
Click on New button.
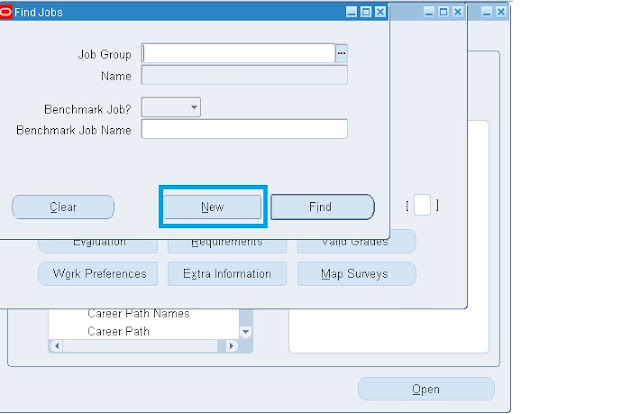
Enter the Job Name and Code.


5.Define Financial Options.
Use the Financials Options window to define the options and defaults that you use for your Oracle Financial Application(s). Values you enter in this window are shared by Oracle Payables, Oracle Purchasing, and Oracle Assets. You can define defaults in this window to simplify supplier entry, requisition entry, purchase order entry, invoice entry, and automatic payments. Depending on your application, you may not be required to enter all fields.
Although you only need to define these options and defaults once, you can update them at any time. If you change an option and it is used as a default value elsewhere in the system, it will only be used as a default for subsequent transactions. For example, if you change the Payment Terms from Immediate to Net 30, Net 30 will be used as a default for any new suppliers you enter, but the change will not affect the Payment Terms of existing suppliers.
Navigation: Payables –> Setup –> Options –> Financial.

Click on New button.
Accounting Tab:
You are required to enter defaults for the Accounting Financials Options in the Accounting region.
Accounts Like:
Liability, Prepayment, Discount Taken.

Supplier-Purchasing Tab:
If you do not also have Oracle Purchasing installed, you do not need to enter defaults in the Supplier- Purchasing region.

Encumbrance Tab:
If you do not use encumbrance accounting or budgetary control, you do not need to enter defaults in the Encumbrance region.

Tax Tab:
If your enterprise does not need to record a VAT registration number, you don’t need to enter defaults in the Tax region.

Human Resources Tab:
If you do not have Oracle Human Resources installed, you are not required to enter defaults in the Human Resources region.


Default Template. The default expense report template that you want to use in the Payables Expense Reports window. You can override this value in the Expense Reports window. A default expense report template appears in the Expense Reports window only if the expense report template is active.
Apply Advances. Default value for the Apply Advances option in the Expense Reports window in Payables. If you enable this option, Payables applies advances to employee expense reports if the employee has any outstanding, available advances. You can override this default during expense report entry.
If you use Internet Expenses and you enable this option, then Expense Report Export applies all outstanding, available advances, starting with the oldest, up to the amount of the Internet expense report.
Automatically Create Employee as Supplier. If you enable this option, when you import Payables expense reports, Payables automatically creates a supplier for any expense report where an employee does not already exist as a supplier. If the supplier site you are paying (HOME or OFFICE) does not yet exist, Payables adds the supplier site to an existing supplier. Payables creates a HOME or OFFICE supplier site with the appropriate address, depending on where you are paying the expense report. The Home address is from the PER_ADDRESSES table, and the Office address is from the HR_LOCATIONS table. Payables creates suppliers based on the defaults you select in this region and employee information from the Enter Person window. You can review suppliers and adjust any defaults in the Suppliers window.
If you do not enable this option, enter an employee as a supplier in the Suppliers window and link the Employee Name/Number to the supplier before you use Expense Report Export. Payables cannot export expense reports without corresponding suppliers, and lists them on Export Results page.
Payment Terms. Payment terms you want to assign to any suppliers that you create from employees during Expense Report Export.
Pay Group. Pay Group you want to assign to any suppliers that you create from employees during Expense Report Export. You can define additional values for Pay Group in the Purchasing Lookups window.
Payment Priority. Payment priority you want to assign to any suppliers that you create from employees during Expense Report Export. A number, between 1 (high) and 99 (low), which represents the priority of payment for a supplier.
Hold Unmatched Expense Reports. This option defaults to the Hold Unmatched Invoices option for the supplier and supplier site for any suppliers Payables creates during Expense Report Export.
When Hold Unmatched Invoices for a supplier site is enabled, Payables requires that you match each invoice for the supplier site to either a purchase order or receipt. If you enable this option for a site, then Payables applies a Matching Required hold to an invoice if it has Item type distributions that are not matched to a purchase order or receipt. Payables applies the hold to the invoice during Invoice Validation. You cannot pay the invoice until you release the hold. You can release this hold by matching the invoice to a purchase order or receipt and resubmitting Invoice Validation, or you can manually release the hold in the Holds tab of the Invoice Workbench. Payables will not apply a hold if the sum of the invoice distributions by accounting code combination is zero.


10.Assign Profile Option to iExpenses Responsibility.


Leave a Reply
Want to join the discussion?Feel free to contribute!